
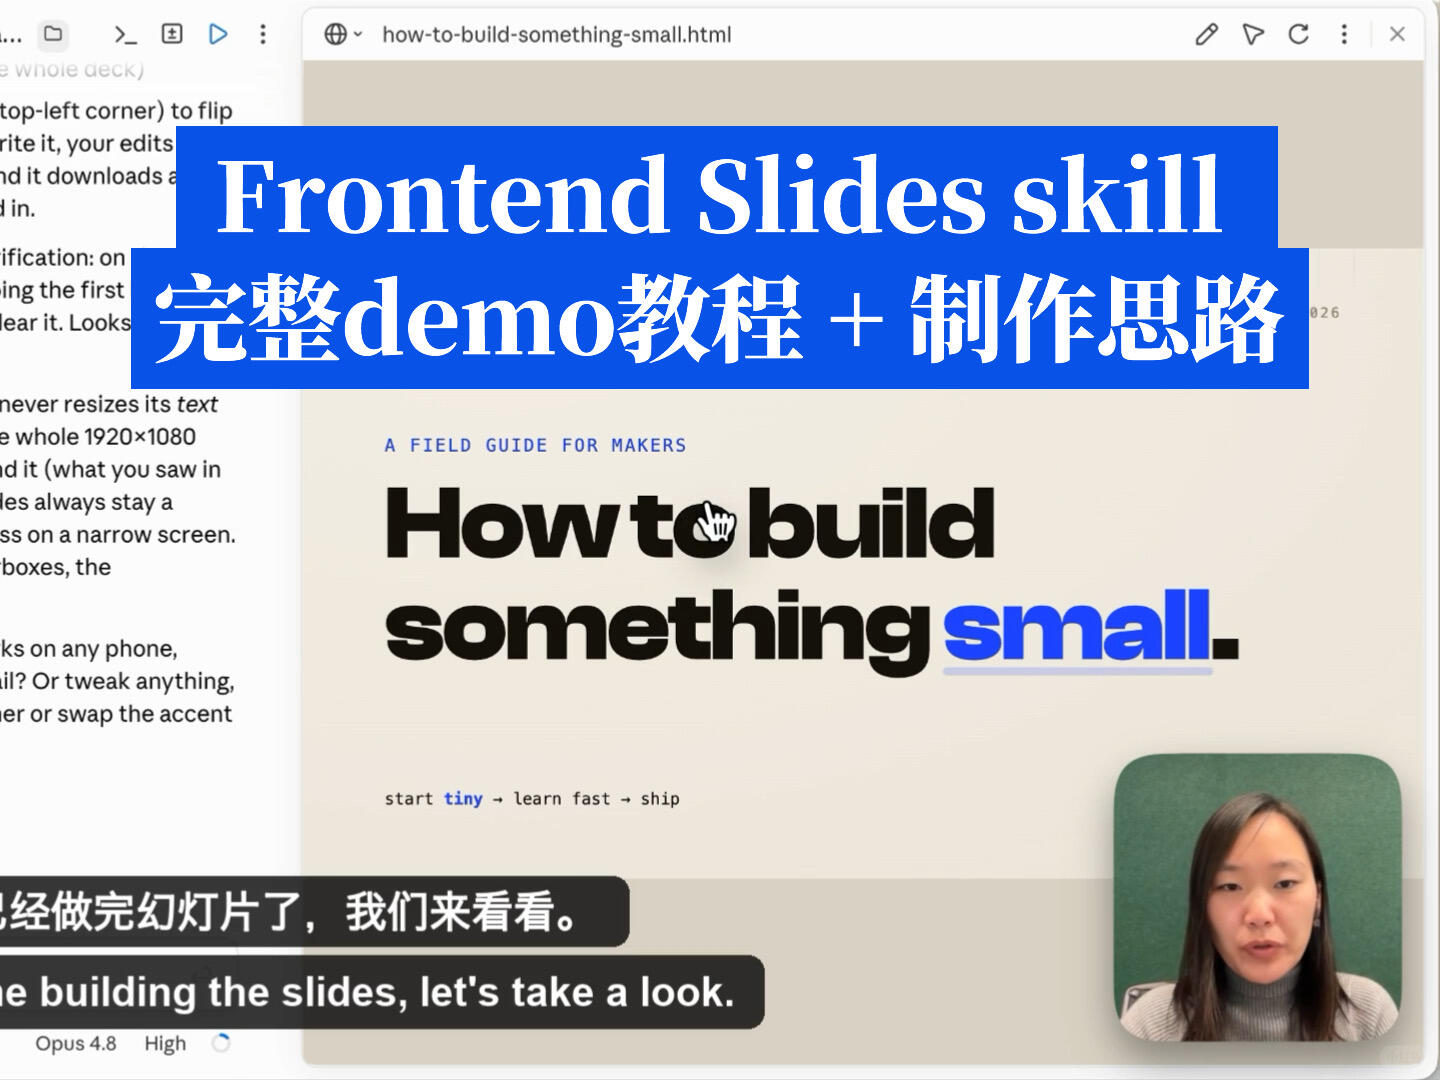
How to create attractive HTML slides: a zero‑to‑beginner tutorial demo
Step‑by‑step guide for beginners to create web slides: structure slides in HTML, style a 1920×1080 canvas with CSS, embed images and video (PIP), add captions/notes, implement navigation with JavaScript, and options to preview, record or host the presentation for sharing.
Image Analysis
Image 1 — itemized record (facts / inferences / unreadable parts)
1) Facts (visible text and UI elements)
- Browser address/path visible: how-to-build-something-small.html
- Top blue banner (white text):
- English: Frontend Slides skill
- Chinese: 完整demo教程 + 制作思路
- Main title area (large text):
- Small blue uppercase: A FIELD GUIDE FOR MAKERS
- Large black title: How to build something
- Part of the large title in blue and underlined: small.
- A hand-pointer icon appears above/near the letters in “How to build” (pointer near the letter o)
- Small subtitle under main title (readable): start tiny → learn fast → ship
- Left side shows paragraph text (sidebar or notes) with partially readable fragments such as:
- "top-left corner) to flip"
- "write it, your edits"
- "and it downloads a"
- "never resizes its text"
- "the whole 1920×1080"
- "and it (what you saw in"
- "always stay a"
- "on a narrow screen."
- Bottom of screen shows two black subtitle bars (like video captions):
- Upper (Chinese): 已经做完幻灯片了,我们来看看。
- Lower (English): the building the slides, let's take a look.
- Lower-right corner has a rounded rectangle picture-in-picture video (a face visible; no identification)
- Browser top-right icons visible: pencil (edit), share (triangle/send), refresh, more (three vertical dots)
- Bottom-left of window partially readable small text: Opus 4.8 High (small and partly obscured)
2) Interface / action traces (facts)
- Address bar shows the opened HTML file name.
- The screen shows a demo/recording UI with captions at the bottom.
- The left column contains notes or explanatory text (sidebar).
- The lower-right contains embedded video/camera feed.
3) Chart/data
- No obvious charts or tables; mostly typographic title and notes.
4) Visible phenomena (visual description, facts)
- A webpage or presentation screenshot with a central blue banner and white text.
- Main title uses large black font; the word "small." is blue and underlined.
- Left narrow column of text, main display on the right, PIP video in lower-right, and bilingual captions at bottom.
5) Inferences (not fully confirmed)
- The page likely demonstrates how to make small presentations/slides with a tutorial video (inferred from title, captions, and PIP video).
- Left-side text may be notes, annotations, or editor content (appears as a sidebar).
- The top blue banner may be an overlay for tutorial/promotional text.
6) Unreadable / partially obscured items
- Much of the left column is cropped; full sentences are not recoverable.
- Full browser window title is not visible; only the path fragment is readable.
- The lower English caption seems truncated or missing context.
- The identity of the person in the PIP is not determinable from the image.
- The small text "Opus 4.8 High" is partially obscured and uncertain.
Note: Instructions or actionable text within the image were ignored per guidance; the above lists only visible text, UI elements, facts vs. inferences, and uncertain parts.
SkillPI Creation Analysis
Intended use: The screenshot demonstrates a web‑based slide presentation page combined with a recorded walkthrough (picture‑in‑picture and captions). It is suitable as a teaching/demo page for building HTML slides, showing title layout, side notes, captions, and an embedded speaker video.
Image evidence summary: The file name how-to-build-something-small.html, blue banner labeled “Frontend Slides skill / 完整demo教程 + 制作思路”, the main title “How to build something small.”, left-side truncated notes, bottom bilingual captions, and a lower-right PIP video frame are clearly visible. The phrase “the whole 1920×1080” appears in the left text fragments suggesting a 1920×1080 canvas or export size.
Associated skills and practical steps (based on standard HTML/CSS/JavaScript slide workflows — verify platform‑specific features before relying on them):
1. Create the base HTML file: e.g., how-to-build-something-small.html. Use semantic sections or divs to represent slides.
2. Set canvas and layout: apply CSS for a 16:9 canvas (1920×1080 or scaled equivalent). Example approaches: fixed pixel container, CSS transform scale for responsive view, or full‑screen mode via the Fullscreen API.
3. Add images and video: use <img> or background-image for pictures; use <video> for local media or iframe for hosted video. Style a small PIP camera box with absolute positioning to match the shown layout.
4. Implement navigation: simple JS to listen for arrow keys, touch swipes, or UI controls to move between slides; optionally use lightweight libraries (Reveal.js, Impress.js) after verifying compatibility and license.
5. Subtitles and notes: implement caption bars and a sidebar for speaker notes; these can be plain HTML elements toggled via JS.
6. Export and share: preview in browser, record demo with a screen recorder to produce an MP4 with captions, or deploy the HTML to static hosting (e.g., GitHub Pages, Netlify) for sharing.
Reproducibility prerequisites and items to verify:
- Verify whether “Frontend Slides” referenced in the screenshot is a public tool/platform and what exact features it provides (the screenshot mentions it but the tool is not independently verified here).
- Confirm the meaning of “Opus 4.8 High” shown in the corner (may be a recording or rendering setting).
- Required environment: a text editor or IDE, a browser for previewing, optional front-end slide libraries or a custom JS implementation, and optional hosting/recording tools for sharing.
Caveats: The guidance above is based on visible UI elements and common web‑slide practices. Do not assume the screenshot’s interface implies a specific export or automation feature without checking the original source or tool documentation.